
Hey! I'm back with another mouth watering recipe :)
Yes...I know. I (Liz) just shared a rhubarb recipe with you. But it's rhubarb season. It's summer. Why not have a rhubarb baking spree??!!


Yes...I know. I (Liz) just shared a rhubarb recipe with you. But it's rhubarb season. It's summer. Why not have a rhubarb baking spree??!!
So here is a little more of a unique rhubarb combo...rhubarb and apple! This time it's not strawberry and rhubarb which is such a common but very yummy combination, but a delicious juicy apple that you can pretty much be sure you have in your cupboard. Aren't you already smelling the delectable scent that comes from the oven when this is baking? I am. :D

Mix the flour and salt together in a large bowl.


Add the butter and shortening.
Using a pastry cutter or two forks, cut the butter and shortening into the mixture until it resembles coarse meal (pea sized bits with a few larger bits of fat is ok)
Drizzle the cold water in, 1 Tablespoon at a time, and stir with a rubber spatula or wooden spoon after every Tablespoon added. Do not add any more water than you need to. Stop adding water when the dough begins to form large clumps. I always use between 1/3 cup and 1/2 cup of water.


Transfer the pie dough to a floured work surface. The dough should come together easily and should not feel overly sticky. Using floured hands, fold the dough into itself until the flour is fully incorporated into the fats. Form it into a ball. Divide dough in half. Flatten each half into 1-inch thick discs using your hands.
Wrap each tightly in plastic wrap. Refrigerate for at least 2 hours.
When rolling out the chilled pie dough discs later on, always use gentle force with your rolling pin. Start from the center of the disc and work your way out in all directions, turning the dough with your hands as you go.
Now we get to make the filling!!!


Peel and dice apples into small pieces.


In a large bowl, combine all the ingredients.
Let the fruit sit while you prepare the pie crust (see below) to let the juices seep out. The sugar and flour stick to the fruit better this way and you don't end up with a soupy mess when you cut the pie.
Pull out one of the discs and on a lightly floured surface, roll out so it is large enough to fit in your pie plate with some extra hanging over. Preheat oven to 375 degrees F. Dump your filling in and then roll out the second disc of dough.

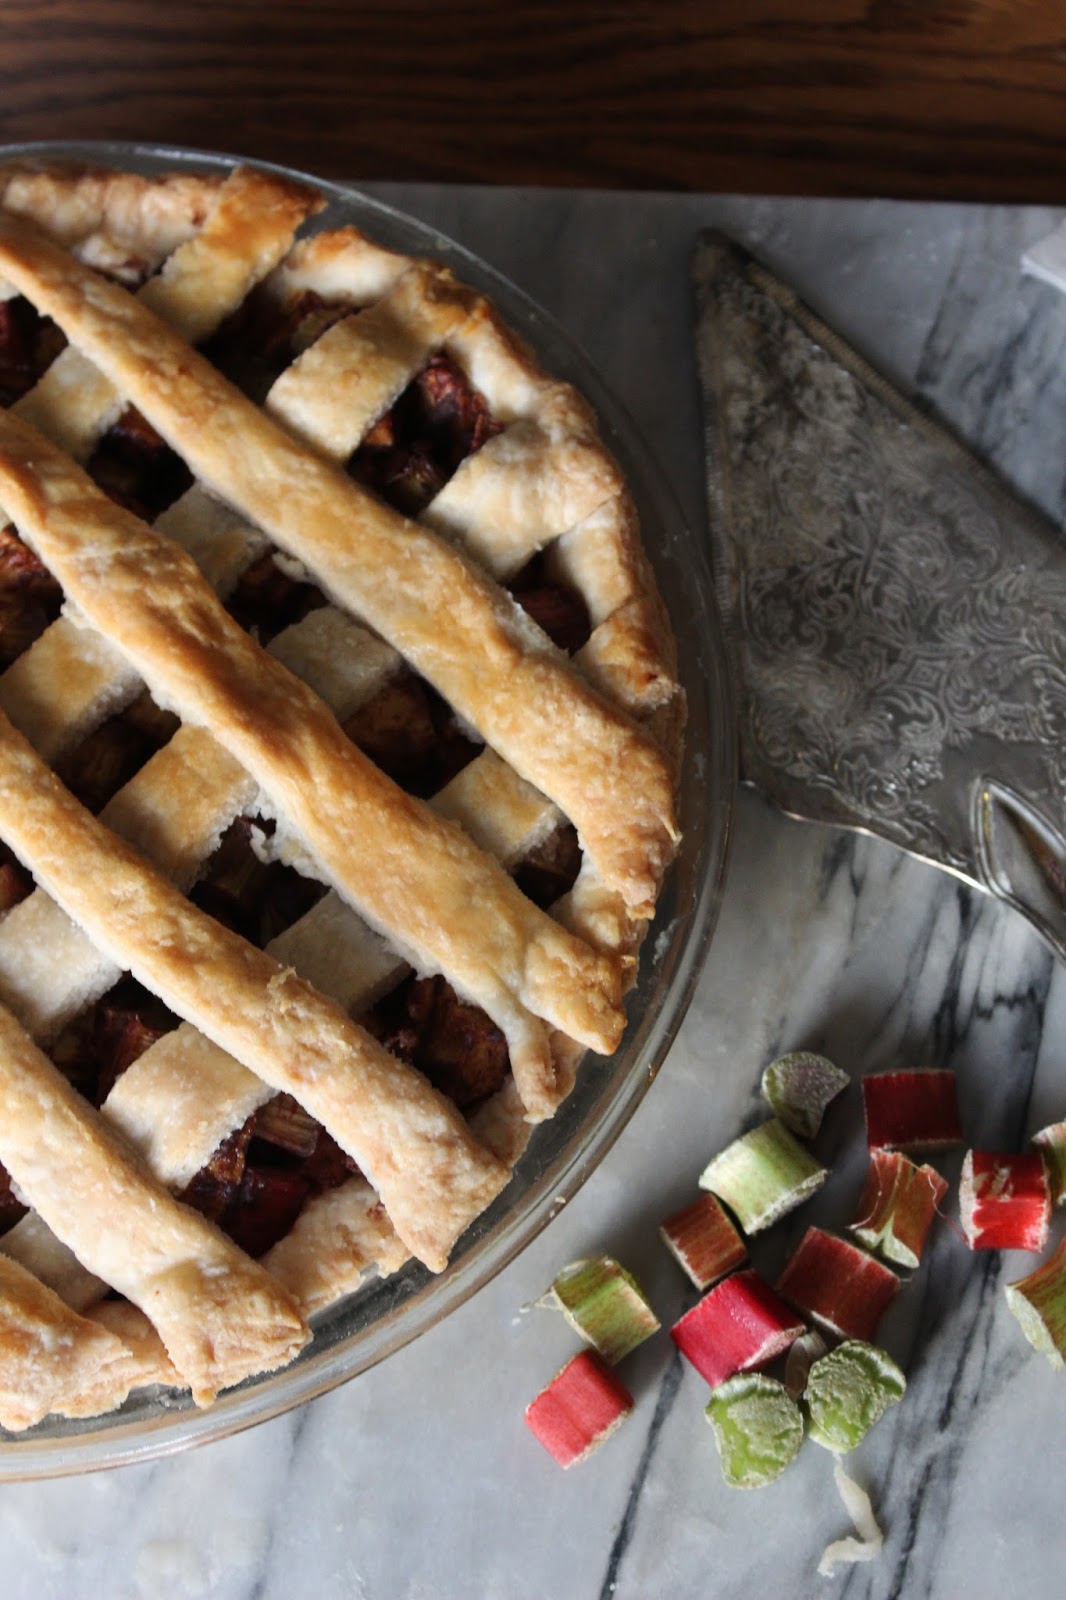
(I recommend rolling out the top criss cross crust thinner than I did)
After you roll out your second disc of dough, start cutting the dough into strips and create this lattice top. If you wish you can do a fully covered pie crust top instead.
Make an egg wash with 1 egg and 1 tablespoon of cream or water and brush the top of the crust with it.

Wrap the edges of the pie in foil to protect them from burning. I take two pieces of foil and set them on the counter, then I put the pie in the center and fold the foil up and crimp it so it sort of hugs the edges of the pie. (See picture above)
Bake for about 30 minutes and then remove the foil from the pie and bake another 25-30 minutes, until the top is golden brown and the fruit is cooked and soft. Remove from oven and allow to cool before serving.

Sugar Free Apple Rhubarb Pie
Ingredients
Ingredients
For The Crust
Makes 2 pie crusts
(You can use any filling you please with this pie crust recipe in future)
2 and 1/2 cups all-purpose flour
1 and 1/4 teaspoons salt
6 Tablespoons unsalted butter, chilled and cubed
3/4 cup vegetable shortening, chilled
1/2 cup ice water
Directions
1. Mix the flour and salt together in a large bowl. Add the butter and shortening.
2. Using a pastry cutter or two forks, cut the butter and shortening into the mixture until it resembles coarse meal (pea sized bits with a few larger bits of fat is ok). A pastry cutter makes this step very easy and quick.
3. Drizzle the cold water in, 1 Tablespoon at a time, and stir with a rubber spatula or wooden spoon after every Tablespoon added. Do not add any more water than you need to. Stop adding water when the dough begins to form large clumps. I always use between 1/3 cup and 1/2 cup of water.
4. Transfer the pie dough to a floured work surface. The dough should come together easily and should not feel overly sticky. Using floured hands, fold the dough into itself until the flour is fully incorporated into the fats. Form it into a ball. Divide dough in half. Flatten each half into 1-inch thick discs using your hands.
5. Wrap each tightly in plastic wrap. Refrigerate for at least 2 hours (and up to 5 days).
6. When rolling out the chilled pie dough discs later on, always use gentle force with your rolling pin. Start from the center of the disc and work your way out in all directions, turning the dough with your hands as you go.
For The Filling
(I make the filling while the pie crust is chilling in the fridge)
(I make the filling while the pie crust is chilling in the fridge)
3 cups diced, fresh rhubarb
2 large apples, peeled and diced
3/4 cup coconut sugar
1 Tablespoon cinnamon
Pinch of salt
1/4 cup all-purpose flour
Directions
1. In a large bowl, combine all the ingredients.
2. Let the fruit sit while you prepare the pie crust to let the juices seep out. The sugar and flour stick to the fruit better this way and you don't end up with a soupy mess when you cut the pie.
3. Pull out one of the discs and on a lightly floured surface, roll out so it is large enough to fit in your pie plate with some extra hanging over.
4. Preheat oven to 375 degrees F.
5. Dump your filling in and then roll out the second disc of dough. At this point you can cut it into strips for a lattice top or you can just do a full on top crust. Then flute the edges.
6. Make an egg wash with 1 egg and 1 tablespoon of cream or water and brush the top of the crust with it. (optional)
6. Make an egg wash with 1 egg and 1 tablespoon of cream or water and brush the top of the crust with it. (optional)
7. Wrap the edges of the pie in foil to protect them from burning. I take two pieces of foil and set them on the counter, then I put the pie in the center and fold the foil up and crimp it so it sort of hugs the edges of the pie.
8. Bake for about 30 minutes.
9. Remove the foil from the pie and bake another 25-30 minutes, until the top is golden brown and the fruit is cooked and soft.
10. Remove from oven and allow to cool before serving.
11. ENJOY!

Do you have any rhubarb recipe favorites?
Photo Credits to Liz
Do you have any rhubarb recipe favorites?
I hope you enjoyed today's recipe. Don't forget to comment below with your thoughts after you make this yummy pie!
Happy Tuesday!
Liz & Sarah


No comments